Craving something sweet but don’t have the time (or patience) for a complicated dessert? Let me introduce you to your new favorite treat: an easy microwave fudge recipe! It’s the perfect solution for anyone who wants homemade indulgence without the hassle. In just minutes, you can whip up a creamy, melt-in-your-mouth fudge that tastes like you’ve spent hours in the kitchen. Plus, it’s beginner-friendly—no fancy techniques or special skills required.
What makes this recipe even better? Its versatility! You can tweak it to match your cravings or jazz it up for special occasions. From classic chocolate to peanut butter swirls, the options are endless. Also, it’s great for gifting or sharing (if you can resist eating it all yourself).
Ready to dive into the easiest, most delicious dessert you’ll ever make? Keep reading to discover everything you need to know about creating this delightful treat. You’re just a few steps away from fudgy perfection!
Why You’ll Love This Easy Microwave Fudge Recipe
Perfect for Beginners: No Cooking Skills Needed
If you’ve never stepped into the kitchen to make dessert, this recipe is your best starting point. An easy microwave fudge recipe doesn’t require complicated techniques or fancy tools. First, all you need are basic ingredients that you likely already have at home. Next, there’s no worrying about tricky steps like boiling sugar to the perfect temperature. You simply mix, microwave, and pour. It’s that simple! Plus, this recipe is forgiving. Even if you’re unsure about measurements, the results are still creamy and delicious. Also, it’s a fun way to experiment with flavors without the stress. You can try adding nuts, candy pieces, or even a swirl of caramel. You’ll feel like a dessert pro in no time. So, why not give it a try? Trust me, once you see how easy it is, you’ll want to make fudge for every occasion!
Quick Prep Time: Make Microwave Fudge in Minutes
Imagine satisfying your sweet tooth in less time than it takes to watch your favorite show. This easy microwave fudge recipe is as fast as it is tasty. First, gather your ingredients—no need for anything fancy. Next, mix them together in a microwave-safe bowl, zap them for a few minutes, and stir until smooth. Then, pour the mixture into a dish to set. That’s it! You’re done in under 10 minutes. Also, there’s minimal cleanup involved since you’re only using a few tools. Whether you’re making this for a party, a gift, or just because, it’s a recipe that fits into even the busiest schedule. Plus, the short prep time means you can spend more time enjoying your delicious treat. Why wait hours for dessert when you can have homemade fudge in no time? Try it today and see for yourself how quick and easy it really is!
Essential Ingredients for Easy Microwave Fudge

Simple Pantry Staples for Maximum Flavor
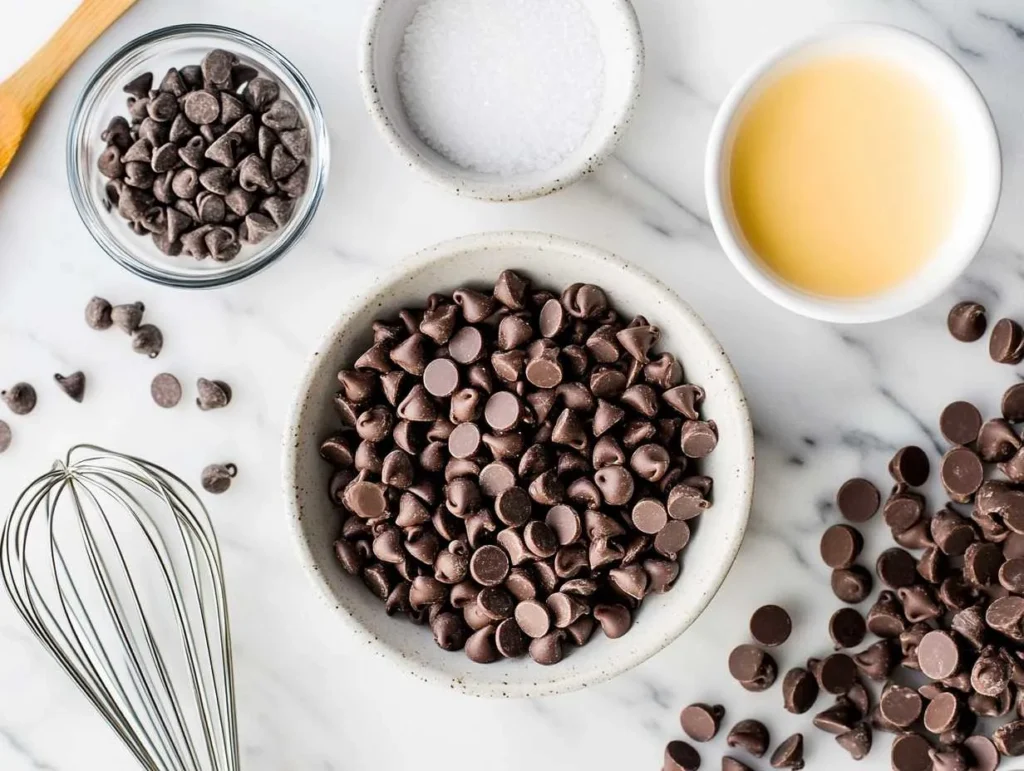
The beauty of an easy microwave fudge recipe lies in its simplicity. You only need a handful of ingredients to make a rich, creamy treat. First, grab a can of sweetened condensed milk—it’s the secret to that melt-in-your-mouth texture. Next, choose your chocolate chips; semisweet is a classic choice, but milk or dark chocolate works too. Also, a pinch of salt helps balance the sweetness and enhances the flavor. Don’t forget the vanilla extract! It adds a warm, comforting touch to your fudge. Best of all, these ingredients are likely sitting in your pantry right now. With such simple staples, you can whip up this dessert any time the craving strikes. Why not check your kitchen and see if you have everything ready? Trust me, once you taste this delicious fudge, you’ll want to keep these ingredients stocked for whenever inspiration hits!
Optional Add-Ins to Customize Your Fudge
What makes this easy microwave fudge recipe even better is how you can change it however you like. Start with your basic fudge mixture, then let your creativity shine. First, try stirring in chopped nuts like walnuts or almonds for a bit of crunch. Next, you could mix in dried fruits, like cranberries, for a sweet and tangy twist. Also, consider swirling in peanut butter or caramel to make every bite extra indulgent. For a festive touch, sprinkle crushed candy canes or colorful sprinkles on top. You can even add a pinch of instant coffee granules to enhance the chocolate flavor. The possibilities are endless! Changing up the flavors keeps the recipe exciting and perfect for any occasion. So, why not try a new variation each time you make it? Your friends and family will be amazed at how versatile this easy dessert can be.
Step-by-Step Instructions for Making Microwave Fudge

Preparing Your Ingredients and Tools
Before diving into this easy microwave fudge recipe, let’s get everything ready. First, gather your ingredients: chocolate chips, sweetened condensed milk, a pinch of salt, and vanilla extract. Next, grab a microwave-safe bowl and a spatula. Also, line a dish with parchment paper for easy removal later. Preparation is key to keeping the process smooth and stress-free. Once your tools and ingredients are ready, measure everything out. This saves time and prevents any last-minute scrambling. Then, set your microwave to a medium setting to avoid overheating the chocolate. If you’re adding mix-ins like nuts or caramel, have those ready too. A little prep goes a long way in making the experience fun and easy. So, why not take a moment to set up your kitchen? You’ll be amazed at how quickly the fudge comes together when everything is organized and ready to go.
Microwave Timing Tips for Perfect Texture
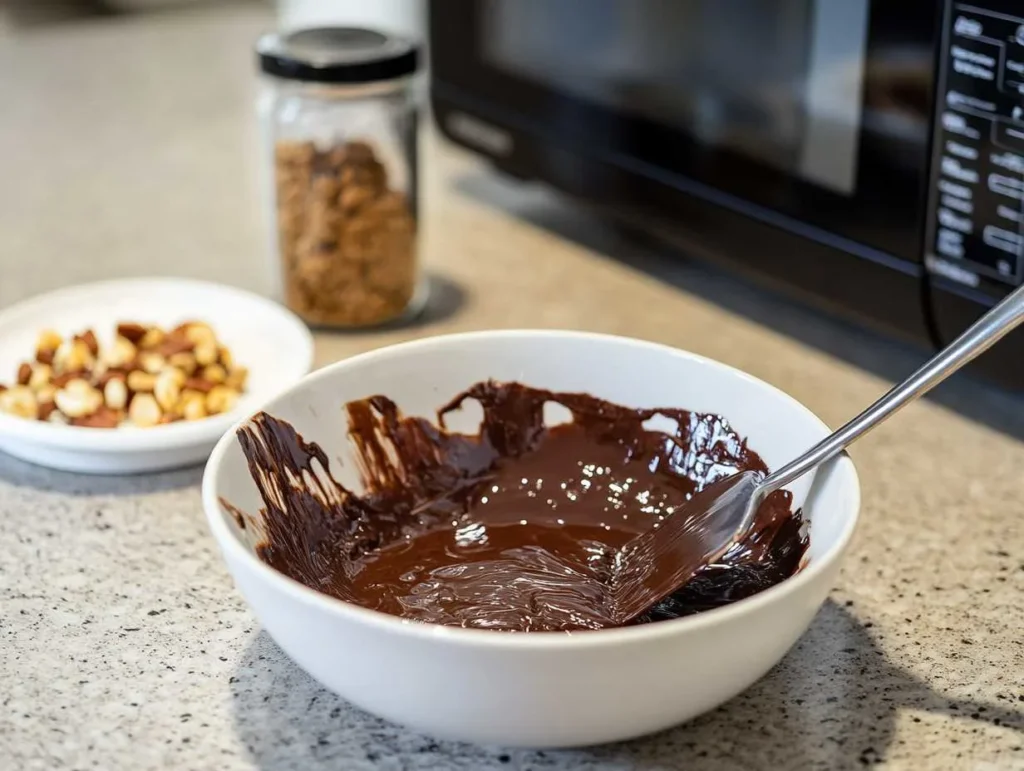
The key to this easy microwave fudge recipe is getting the timing just right. First, start by microwaving your chocolate chips and sweetened condensed milk together in 30-second intervals. Stir between each session to ensure the chocolate melts evenly. Next, be patient and avoid overheating, as this can make the mixture grainy. Also, use a spatula to scrape the sides of the bowl, making sure everything combines smoothly. Once the mixture is fully melted and glossy, stir in a pinch of salt and vanilla extract. Then, quickly pour it into your prepared dish and smooth the top. Timing is everything, so keep a close eye on your microwave. Remember, it’s better to undercook slightly and stir more than to overcook. With these simple tips, you’ll achieve the perfect texture every time. So, go ahead and give it a try—you’ve got this!
Creative Variations of Easy Microwave Fudge

Adding Flavors: Chocolate, Peanut Butter, and More
One of the best things about an easy microwave fudge recipe is how you can make it your own. Start with the classic chocolate base, then get creative! First, consider adding a swirl of creamy peanut butter for a rich, nutty flavor. Next, you could mix in crushed cookies, like Oreos, for a crunchy surprise. Also, try stirring in a handful of marshmallows for a fun, gooey twist. Love mint? Add a few drops of peppermint extract or sprinkle crushed mint candies on top. You can even experiment with white chocolate and mix in dried fruits for a gourmet touch. These simple tweaks take your fudge from delicious to unforgettable. Plus, it’s a fun way to tailor the recipe to your mood or the season. Why not try something new every time you make it? You’ll never get bored with so many delicious possibilities to explore.
Seasonal and Festive Fudge Ideas
This easy microwave fudge recipe isn’t just versatile; it’s perfect for any season or celebration. For the holidays, try adding red and green sprinkles or swirling in some crushed candy canes. In the summer, mix in dried strawberries or blueberries for a fruity twist. Also, consider creating themed fudge for special events. For example, orange and black sprinkles are great for Halloween, while pastel colors make it perfect for Easter. Next, think about using molds to shape the fudge into hearts for Valentine’s Day or stars for a Fourth of July party. These little touches make your fudge stand out and impress everyone who tries it. Plus, they’re super fun to make! Why not turn this recipe into a family tradition? You can switch up the flavors and decorations every year to suit the occasion, keeping the joy of homemade fudge alive and exciting.
Troubleshooting Tips for Easy Microwave Fudge
Fixing Common Mistakes Like Overcooking
Sometimes, even the easiest recipes hit a snag, but don’t worry—this easy microwave fudge recipe is forgiving! If your fudge turns out grainy, it’s likely due to overheating. First, make sure to microwave in short intervals, stirring often. Next, if the mixture seems too thick, add a splash of milk or cream and stir until smooth. Also, be careful with the timing—less is more when it comes to melting chocolate. If your fudge doesn’t set properly, it might need more time in the fridge. Let it chill for at least two hours, but overnight is even better. Then, if all else fails, don’t throw it away! Grainy fudge can still be repurposed as a topping for ice cream or stirred into hot cocoa. Mistakes happen, but they’re all part of the learning process. So, keep experimenting, and soon you’ll be making perfect fudge every single time.
How to Store Fudge for Long-Lasting Freshness
Once you’ve made this easy microwave fudge recipe, the next step is keeping it fresh and delicious. First, let the fudge cool completely before cutting it into squares. Then, store the pieces in an airtight container to lock in their flavor. Also, place parchment paper between layers to prevent sticking. If you plan to enjoy the fudge within a few days, keep it at room temperature in a cool, dry spot. For longer storage, pop it in the fridge, where it will stay fresh for up to two weeks. Next, if you want to save some for later, freeze it! Wrap each piece tightly in plastic wrap, then place them in a freezer bag. This way, your fudge can last for up to three months. When you’re ready to enjoy, just thaw it at room temperature for a few hours. Easy, right? Now you can savor your fudge anytime!
Frequently Asked Questions (FAQs)
Why didn’t my microwave fudge harden?
If your microwave fudge didn’t harden, don’t worry—it happens to the best of us! The most common reason is that the mixture wasn’t heated enough. First, ensure you microwaved it until everything melted smoothly. Next, double-check the ratio of ingredients. Too much liquid, like milk or vanilla, can make the fudge too soft. Also, let the fudge set in the fridge for at least two hours. If it still doesn’t harden, try freezing it for a firmer texture. Remember, every microwave is different, so adjustments may be needed. With a little practice, your fudge will turn out perfectly every time!
How to make fudge in the microwave without condensed milk?
Making fudge without condensed milk is possible and still delicious! First, you can use heavy cream and sugar as substitutes. Heat them together until the sugar dissolves, then add chocolate and a pinch of salt. Stir the mixture until smooth, then follow the same steps as a traditional easy microwave fudge recipe. You can also try coconut cream for a dairy-free option. Don’t forget to let it set in the fridge! The texture might be slightly different, but the flavor will still be amazing. Experimenting with new ingredients can be fun, so give it a try!
Is it better to use condensed milk or evaporated milk for fudge?
Condensed milk is the better choice for an easy microwave fudge recipe. It’s sweet, creamy, and helps give fudge its perfect texture. Evaporated milk, on the other hand, doesn’t have the added sugar. If you use it, you’ll need to add sugar and adjust the recipe. Condensed milk makes the process simpler and ensures consistent results. Also, its thick consistency blends smoothly with chocolate, creating that rich, melt-in-your-mouth goodness. If you want a no-fail option, stick with condensed milk. It’s quick, reliable, and makes the fudge taste amazing every time. Why complicate things when condensed milk works so well?
Why is my 3 ingredient fudge not setting?
If your 3-ingredient fudge isn’t setting, don’t panic—it’s an easy fix! First, check if you microwaved the ingredients long enough. The chocolate and condensed milk need to fully combine for the fudge to set. Next, make sure the proportions are correct. Too much liquid or not enough chocolate can affect the texture. Also, let the fudge chill in the fridge for at least two hours. If it’s still soft, try freezing it for a while. These small tweaks can make a big difference. Don’t give up—your easy microwave fudge recipe will turn out perfectly with a little patience!
Wrap Up Your Fudge Adventure with Sweet Success
Congratulations! You’ve mastered the art of making an easy microwave fudge recipe. It’s such a simple yet rewarding treat, isn’t it? First, you learned how quick and hassle-free the process can be. Next, you discovered how versatile it is with endless flavor options to try. Also, you now know how to troubleshoot and store your fudge like a pro. Whether you’re making it for yourself or sharing it with loved ones, this recipe is bound to impress. Best of all, it’s fun to make! So, why not grab your ingredients and whip up another batch today? You’ll love how easy it is to create something so delicious. Don’t forget to experiment with new flavors and ideas to keep it exciting. Your fudge adventure doesn’t have to stop here—it’s just the beginning. Enjoy every bite and share the sweetness with everyone around you!
Want more easy and delicious ideas? Visit our homepage for a collection of recipes to inspire your next kitchen adventure.

