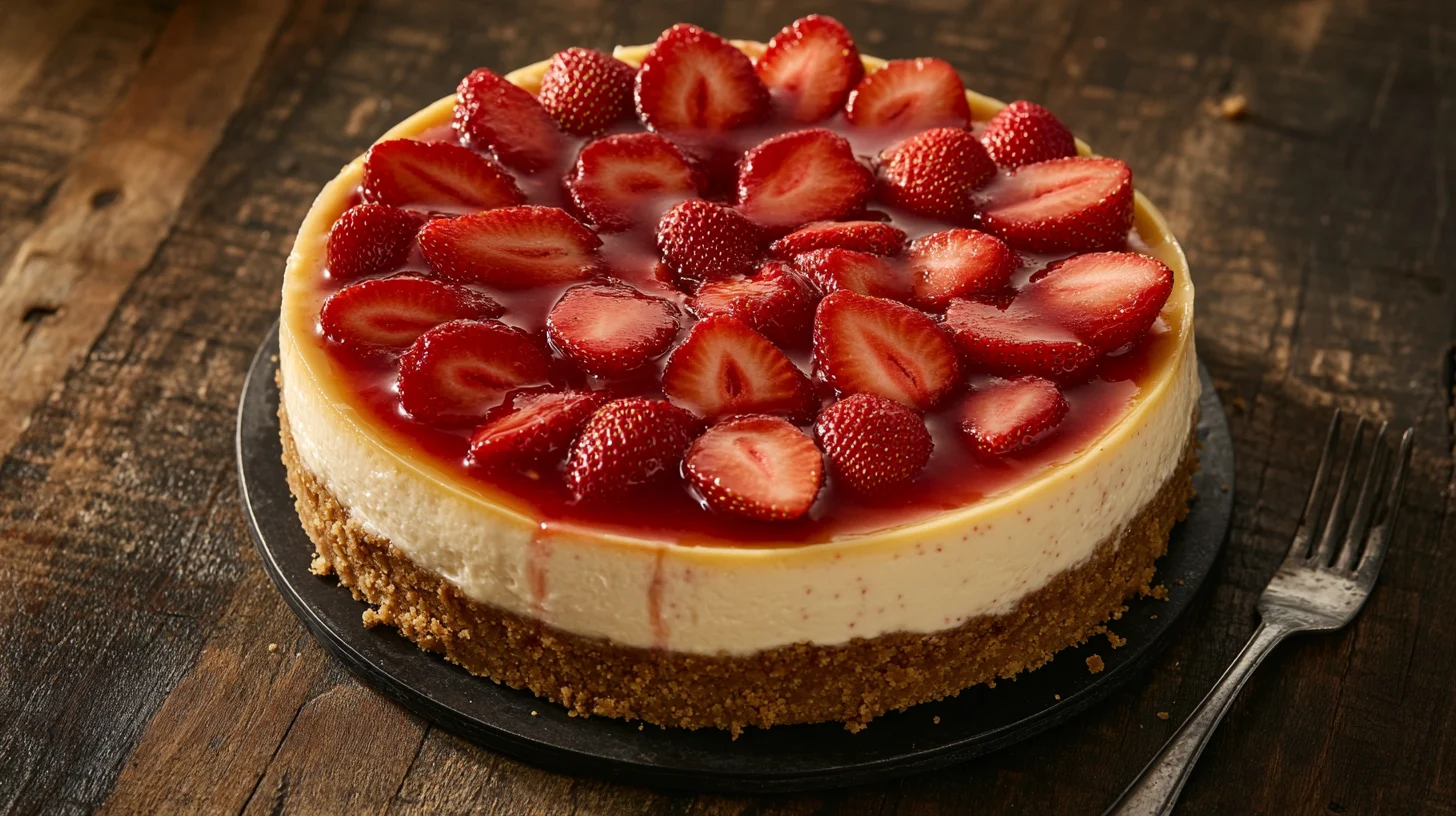
How to Make Strawberry Cheesecake? Deliciously Easy Recipe
Are you wondering how to make strawberry cheesecake? It’s the perfect dessert to impress friends and family, but it’s surprisingly easy to make! With a few simple ingredients and steps, you can create a creamy, delicious cheesecake that everyone will love. Plus, it’s a versatile dessert—you can adjust the sweetness or toppings to suit any occasion.
Next, this strawberry cheesecake recipe is not only tasty but also easy to customize. Imagine a smooth, velvety filling with a crunchy base, topped with fresh strawberries. Whether you’re baking for a celebration or just to satisfy your sweet tooth, this cheesecake is a must-try. You’ll love how quickly you can put it together and the delightful results. Keep reading to find out how you can create this delicious treat step by step!
Table of Contents
Preparing the Perfect Crust for Strawberry Cheesecake
Choosing the Best Ingredients for the Crust
When you’re learning how to make strawberry cheesecake, the crust is a crucial part! First, you’ll want to choose the right ingredients. A graham cracker crust is classic and easy to make. Start by crushing the graham crackers into fine crumbs. You can use a food processor, or just put them in a plastic bag and crush them with a rolling pin. Then, mix the crumbs with melted butter and a bit of sugar to add sweetness.
Next, if you want a twist, you can experiment with adding some cinnamon or even ground nuts to the crust. This gives your strawberry cheesecake a unique flavor and texture. Once everything is mixed together, you’ll be ready to press the crust into the pan. The base is the foundation of your cheesecake, so make sure it’s even and well-packed!
How to Press the Crust Firmly for a Perfect Base
Once you’ve got your graham cracker mixture, it’s time to press the crust firmly into the pan. First, make sure your crust is evenly spread across the bottom of the pan. Use your fingers to gently press down the crumbs, or you can use the back of a spoon for a smoother surface. The key is to apply even pressure to get a compact base that will hold up when you slice the cheesecake later.
Next, if you want the crust to be extra firm, you can bake it for about 10 minutes at 350°F. This step will help set the crust and give it a nice golden color. After baking, let the crust cool completely before adding the filling. A well-pressed, perfectly firm crust will ensure your strawberry cheesecake holds together beautifully!
Making the Creamy Filling for Strawberry Cheesecake
How to Blend the Filling Ingredients Smoothly
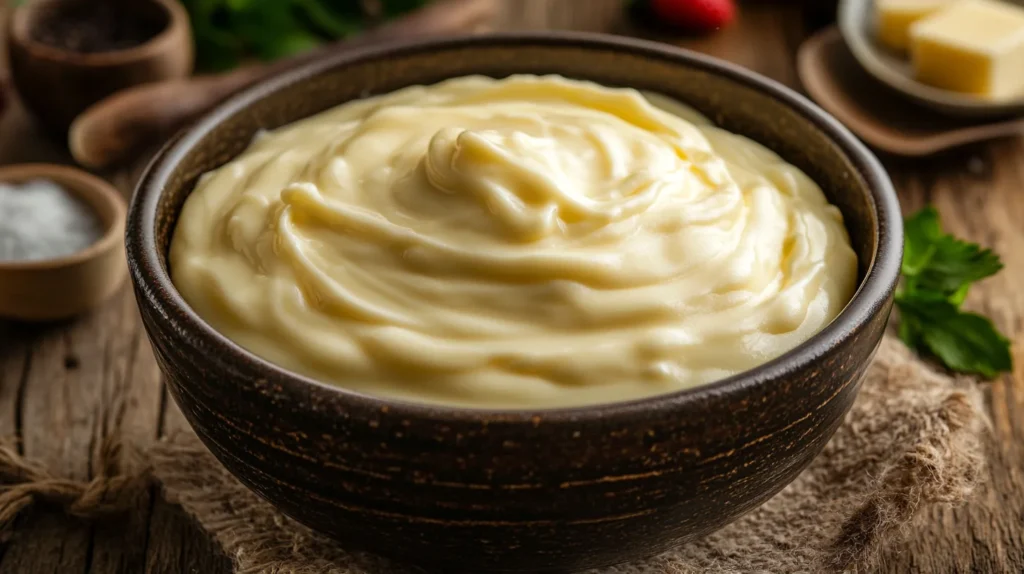
When you’re learning how to make strawberry cheesecake, getting the filling smooth is key! First, start by blending your cream cheese until it’s nice and soft. You can do this by using an electric mixer on medium speed. Once the cream cheese is smooth, add in your sugar, eggs, and vanilla extract. Be sure to mix well to avoid any lumps in your filling.
Next, after everything is combined, you’ll want to mix until the filling is light and airy. If needed, scrape down the sides of the bowl to ensure all the ingredients are incorporated. You want your cheesecake filling to be silky and smooth, not chunky. By following these steps, your filling will turn out creamy and perfect for your strawberry cheesecake!
Tips for Achieving the Right Consistency in the Filling
Achieving the right consistency in your cheesecake filling is important for the perfect texture. First, make sure your ingredients are at room temperature. Cold cream cheese can result in a lumpy filling, so take it out ahead of time. When you mix everything together, the consistency should be thick but spreadable.
Next, if your filling feels too thick, you can add a little heavy cream or sour cream to loosen it up. In contrast, if it’s too runny, let it blend a little longer. Be patient and mix gently to get a smooth, creamy texture. By adjusting the consistency as needed, you’ll have the perfect filling for your strawberry cheesecake!
Adding the Sweet Strawberry Topping to Your Cheesecake
How to Prepare Fresh Strawberries for the Topping
When you’re figuring out how to make strawberry cheesecake, the topping is what makes it extra special! First, wash your fresh strawberries thoroughly. Remove the stems and slice them evenly. You can cut them into thin slices or leave them whole for a chunkier topping. If you want a sweet, syrupy topping, you can cook the strawberries down with a little sugar. Just simmer them on low heat until they soften and release their juices. This creates a delicious strawberry sauce that will make your cheesecake shine!
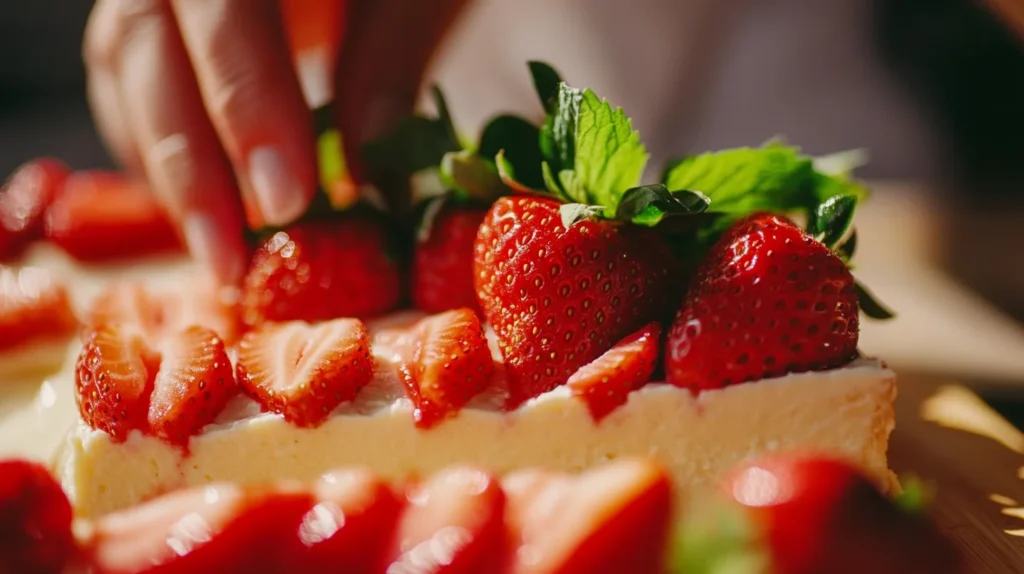
Next, if you prefer a fresh topping, you can simply arrange the sliced strawberries neatly over the cheesecake. Whether you go for a syrupy or fresh topping, the strawberries will add a burst of flavor that complements the creamy cheesecake. This simple step will take your cheesecake to the next level. You’re going to love how fresh and vibrant the strawberries make the cheesecake look!
Creative Ways to Garnish Your Strawberry Cheesecake
When learning how to make strawberry cheesecake, don’t forget about the fun part—garnishing! First, consider adding a little extra texture and flavor with a drizzle of melted chocolate or caramel. This not only adds sweetness but also gives your cheesecake a sophisticated look. You can also sprinkle some crushed graham crackers or crushed nuts on top for a crunchy contrast to the smooth cheesecake.
Next, you can experiment with edible flowers or mint leaves for a pop of color. For a festive touch, try arranging the strawberries in a heart shape or other fun patterns. You can even add some whipped cream for extra creaminess. These small garnishing touches will make your cheesecake feel extra special and Instagram-worthy! Let your creativity shine and make your strawberry cheesecake truly one-of-a-kind.
Baking Your Strawberry Cheesecake to Perfection
The Ideal Temperature and Baking Time
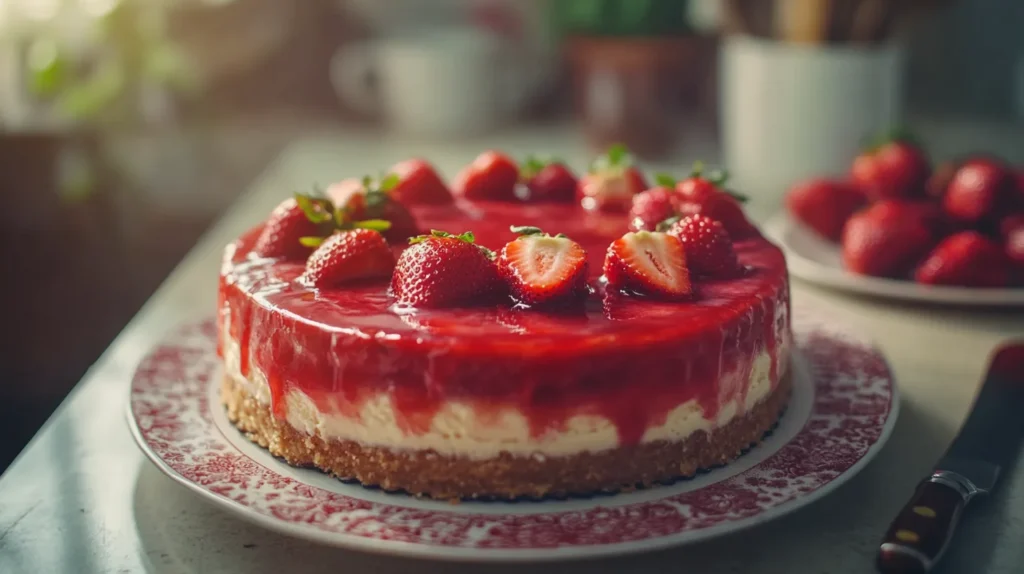
When figuring out how to make strawberry cheesecake, the baking process is crucial for the perfect texture. First, preheat your oven to 325°F (160°C). This temperature is just right to bake the cheesecake without overcooking it. A lower temperature helps the cheesecake bake evenly and prevents cracking on top. It also ensures that the center remains smooth and creamy.
Next, bake your cheesecake for about 45-50 minutes. Depending on the size of your pan, the baking time may vary slightly. It’s always a good idea to check after 45 minutes to see how it’s doing. A slightly golden top and firm edges indicate it’s ready for the next step. Baking at the right temperature and time will ensure your cheesecake turns out perfect every time!
How to Tell When Your Cheesecake is Done
Wondering how to make strawberry cheesecake and tell when it’s done? It’s all about checking the consistency. First, when the cheesecake is done, the edges should look firm, and the center should have a slight wobble. You can gently shake the pan to check for this. If the middle still jiggles too much, it needs more time.
Next, another helpful trick is to insert a knife into the center of the cheesecake. If it comes out clean, it’s ready! Be sure not to overbake, as it can lead to a dry texture. After baking, let the cheesecake cool at room temperature before refrigerating. This cooling process helps set the filling. With these tips, you’ll get the perfect cheesecake every time!
For more delicious Recipe, explore Frosting Fudge Recipe, Butterscotch Fudge Recipe.
Chilling and Storing Your Strawberry Cheesecake
How Long to Chill Your Cheesecake for Best Results
After you’ve figured out how to make strawberry cheesecake, the chilling process is essential! First, once your cheesecake is baked, let it cool at room temperature for about 30 minutes. This step helps it set slightly before it goes into the fridge. Then, place your cheesecake in the fridge for at least 4 hours, but overnight is even better. The longer it chills, the firmer the texture will become, giving you that perfect slice.
Next, if you’re in a rush, you can chill it for a minimum of 2 hours. But remember, the cheesecake will taste best when it’s allowed to set fully. If you skip this step, it might be too soft to cut into clean slices. So, give it enough time to chill and firm up, and you’ll get the perfect strawberry cheesecake!
Tips for Properly Storing Your Cheesecake
When learning how to make strawberry cheesecake, storing it correctly is just as important. First, after the cheesecake has chilled, cover it loosely with plastic wrap or a cake dome to keep it fresh. Be careful not to press down on the cheesecake while wrapping it, or you might ruin the topping. Storing your cheesecake this way will help preserve its texture and flavor for several days.
Next, if you’re storing the cheesecake for a longer period, you can freeze it. Simply wrap it tightly with plastic wrap and then with aluminum foil. This will keep it fresh for up to 1-2 months. When you’re ready to serve it, just thaw it in the fridge overnight. Proper storage ensures your strawberry cheesecake remains fresh and delicious!
Frequently Asked Questions (FAQs)
Is cheesecake better baked or unbaked?
When figuring out how to make strawberry cheesecake, the choice between baked or unbaked depends on the texture you prefer. First, baked cheesecake has a smooth, firm texture and a rich flavor. It’s perfect if you enjoy a more traditional, custard-like consistency. On the other hand, unbaked cheesecake is lighter and creamier, with a soft, mousse-like texture. It’s also quicker to make since you don’t have to wait for it to bake. So, it really comes down to your personal preference! Both versions are delicious, but you’ll love experimenting with both types.
What are the three types of cheesecake?
When you want to learn how to make strawberry cheesecake, it’s good to know the different types of cheesecakes out there. First, there’s the classic baked cheesecake, which is made with cream cheese and eggs, giving it a rich and dense texture. Next, there’s the no-bake cheesecake, where the filling is set with gelatin or whipped cream, resulting in a lighter texture. Lastly, there’s the Japanese cheesecake, which is fluffier and soufflé-like. Each type has its own unique texture, so feel free to try them all and see which one you prefer!
Is sour cream or yogurt better for cheesecake?
Wondering what’s best for your cheesecake when making strawberry cheesecake? Both sour cream and yogurt add a tangy flavor that complements the sweetness of the cake. First, sour cream is thicker and richer, giving the cheesecake a creamier texture. It also adds a smooth tang without overpowering the flavor. Next, yogurt is a lighter option and gives the cheesecake a slightly less rich texture but still adds a nice tartness. If you want a more decadent dessert, go with sour cream. For a lighter version, try using yogurt. Both will taste amazing!
Which baking method is best for cheesecake?
When figuring out how to make strawberry cheesecake, the best baking method is using a water bath (bain-marie). First, this method helps the cheesecake bake evenly by surrounding it with moist heat. It prevents cracking and ensures a smooth, creamy texture. You’ll need to place your cheesecake pan inside a larger pan filled with hot water. Next, bake the cheesecake at a low temperature, around 325°F (160°C). This method prevents overcooking and gives you a perfectly creamy cheesecake every time. It’s definitely worth the extra step for a flawless result!
Final Steps to Making a Perfect Strawberry Cheesecake!
Now that you know how to make strawberry cheesecake, it’s time to enjoy the final results! First, remember to chill your cheesecake for at least a few hours after baking. This helps it set properly, ensuring that each slice holds its shape. While waiting, you can get creative with garnishing! Fresh strawberries, whipped cream, or even a drizzle of chocolate will make your cheesecake look even more appetizing.
Next, when you’re ready to serve, slice it carefully and enjoy the smooth, creamy texture and sweet flavor. Whether it’s for a special occasion or just a treat for yourself, your strawberry cheesecake will be the star of the show! You’ve mastered the steps—now it’s time to savor every bite. Happy baking!
